Setting up Email on Windows 10 Mail (IMAP Mailbox)
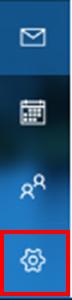
1. Click the settings Icon in the bottom left hand corner of the mail client.
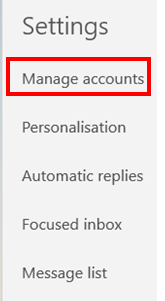
2. Click Manage accounts
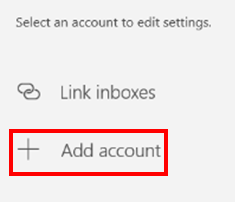
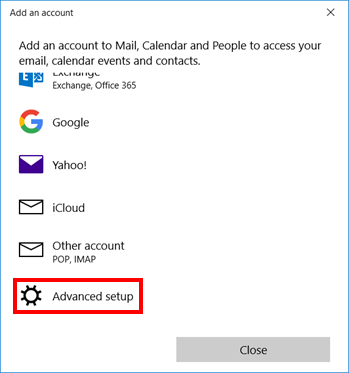
3. Click Add Account
4. Click Advanced Setup
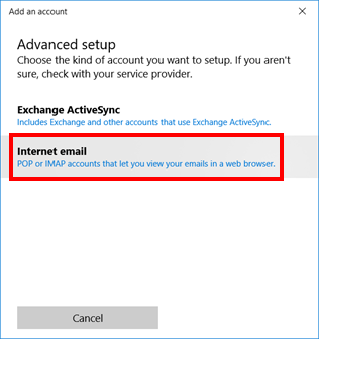
5. Click Internet Email
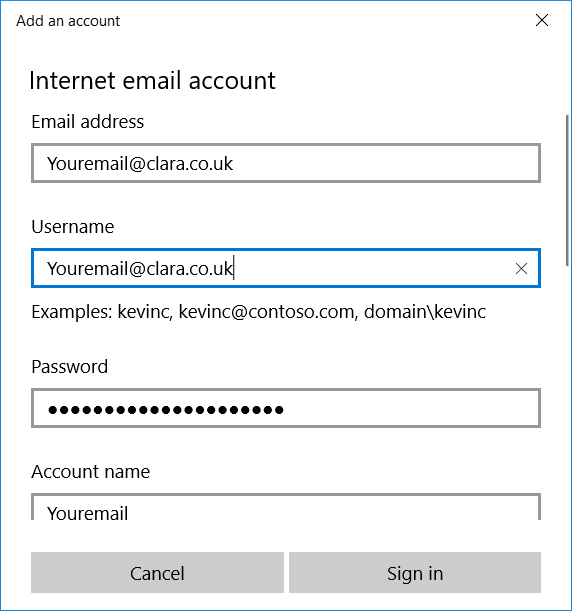
6. Next fill out the following information with the appropriate information.
In Email Address Enter your full email address.
In Username enter your full email address a second time.
In Password enter your accounts password.
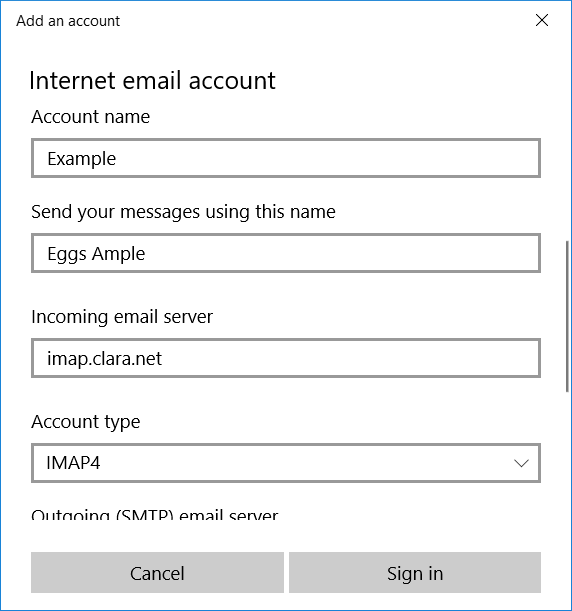
7. In Account name put the first part of your email address (Everything before the @ Symbol)
In Send messages using your name enter whatever you would like your name to appear as on emails.
For the incoming server settings enter imap.clara.net
For the Account type ensure that it is displayed as a IMAP4
8. Ensure the Outgoing server (SMTP) is set to relay.clara.net
Make sure that Outgoing server requires authentication is ticked.
Ensure that Use the same username and password for sending emails is ticked.
Ensure that Require SLL is unticked for both incoming and outgoing emails.
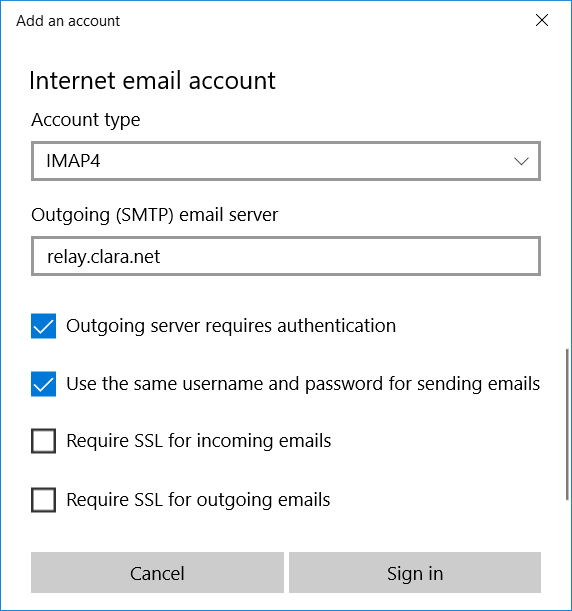
9. Click Sign In

10. Now your account should be completely set up. If your emails aren’t showing up straight away click the sync button at the top of your inbox to resync your mailbox to our server.